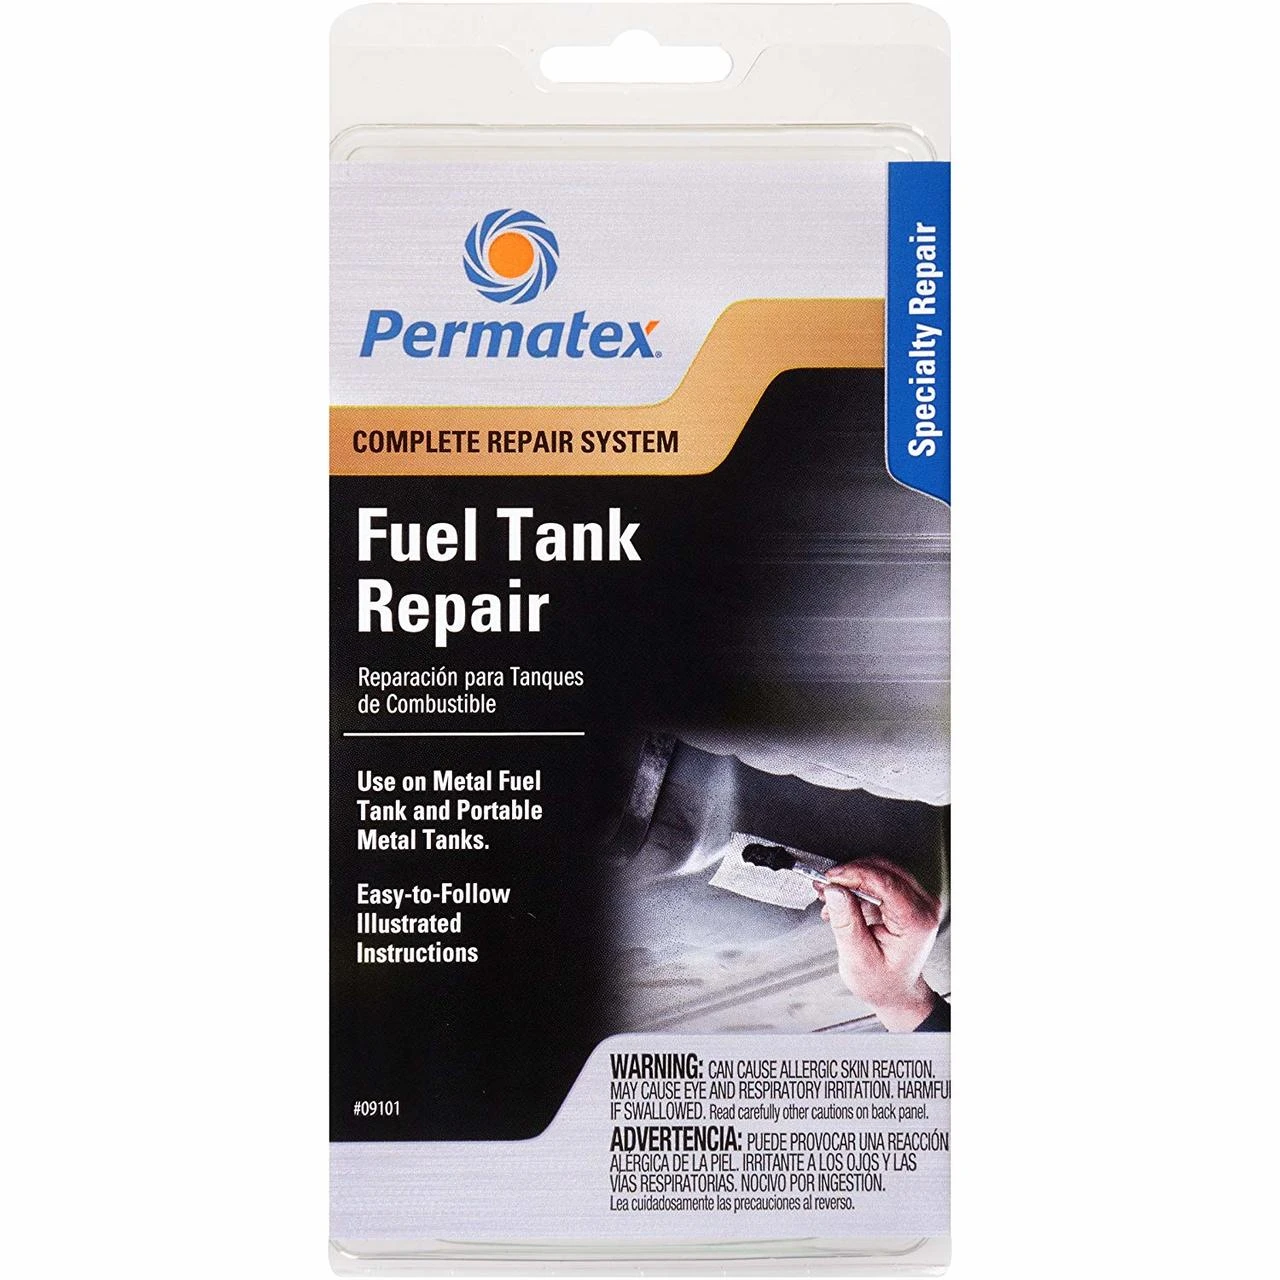

Permatex Fuel Tank Repair Kit for Metal Tanks (09101)
Permatex Fuel Tank Repair Kit for Metal Tanks with Professional-Quality Components (09101) eliminates the need for dangerous welding. This comprehensive kit includes everything required to make quick, permanent repairs to leaks in all types of metal fuel tanks.
The metal fuel tank repair on slow leaking cracks up to 4 inches in length and holes up to 3/8 inch in diameter. Ideal for automotive and industrial maintenance applications, this kit is essential for any mechanic or DIY enthusiast.
Specifications and Dimensions
Manufacturer: Permatex
Item Weight: 3 ounces
Product Dimensions: 1.25 x 3.88 x 7.88 inches
Item model number: 09101
Material: Plastic
Fit Type: Universal
Exterior Finish: Machined
Key Features and Benefits
Eliminates the need for welding
Repairs cracks up to 4 inches long and holes up to 3/8 inch in diameter
Complete kit with all necessary components
Repairs made at lower temperatures will take longer to cure
Ideal for metal fuel tanks
1. Remove gas cap to vent tank. Ensure adequate ventilation.
2. If leak is large, drain tank or reduce liquid level to at least 2 inches below the damaged area.
3. Prepare damaged area by removing any oil, grease, tar, or dirt from the repair area.
4. Sand the affected area to at least 1 inch beyond the damage. Clean area with an alcohol swab.
5. Break off the appropriate size piece of putty and place it over the leak.
6. Cut the fiberglass cloth to fit within the sanded area.
7. Mix the resin by bursting the seam that separates the two materials. Knead until the mixture is of uniform color.
8. Cut off the top of the pouch and dispense some of the resin mixture onto the damaged area.
9. Spread the resin mixture in a uniform layer with the supplied brush onto the area to be covered by the fiberglass.
10. Place the fiberglass over the resin-covered area and spread the remaining mixture over the fiberglass until it is completely saturated.
11. Taper the edges of the repair area beyond the fiberglass. Smooth the repaired area with the brush. Allow to cure for 30 minutes.
Product identification
- Brand: Permatex
- Model / MPN: 9101